Think of your website as a shopfront in the giant virtual city that is Google.
Tools like Google Analytics mostly show you what visitors do once they've landed on your site.
Google Search Console, formerly known as "Google Webmaster Tools", is different: it opens a real dialogue between site owners and the search engine.
This free dashboard from Google gives you privileged access to how your site performs in search results.
Its main jobs are:
- Measuring your visibility: tracking impressions (how many times your page shows up), clicks, average position and so on, so you can improve your results.
- Checking technical health: making sure Google can crawl every page properly before it's added and indexed in its database.
- Receiving alerts: getting email reports whenever there's a critical problem, a security alert or a penalty.
Checking GSC regularly is non-negotiable for any serious SEO strategy, with data refreshed within 48 hours on average.
Search Console vs. Google Analytics: why you need both
This question comes up all the time, and understanding the difference matters a lot for your online presence.
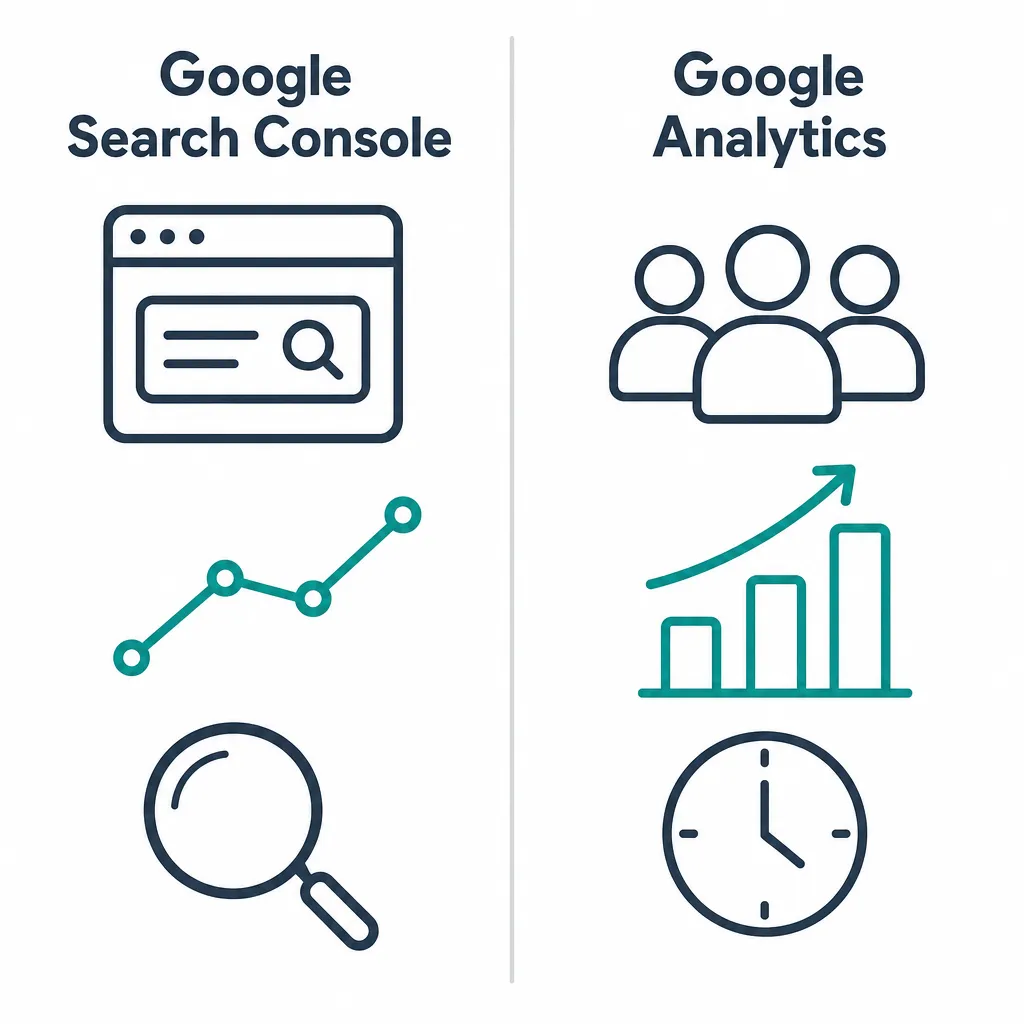
- Google Search Console (GSC) is all about the PRE-CLICK. It measures how your site shows up in Google (impressions, clicks, CTR, position), whether it works properly on a technical level, and its visibility. It's the perfect tool for analysing your organic acquisition.
- Google Analytics (GA) studies the POST-CLICK. It analyses how visitors behave on your site (time on page, pages viewed, conversion rate, traffic sources) so you can improve the user experience.
Link the two platforms and you get the full picture: you can see which queries (GSC data) bring in the most engaged users (GA data). Cross-reference each report and you make informed decisions to improve your rankings. Follow these recommendations and you'll have Search Console and Analytics working hand in hand.
How to set up Google Search Console and take your first steps
Before you can analyse your site's performance, you first need to set up Google Search Console. All you need is an active Google account, tied to your work or personal email address. Signing in to Google Search Console is as simple as using that same account through a standard Google login. Adding your site and verifying it are the two steps you can't skip if you want to use Google Search Console to its full potential.
Verify ownership of your site
Before you get any data about your site in Search Console, you have to prove you're the owner. Sign in with your Google account and click "Add property". You'll then choose between two methods:
- Domain: This is the most complete and recommended option. It covers every version of your site (with or without www, http or https). Verification requires a DNS configuration (adding a TXT record), which may mean asking your hosting provider for help if you're not comfortable with that kind of change.
- URL prefix: This method only covers one specific address (for example
https://www.yoursite.com). Several verification options are available: - HTML tag: Ideal for CMS users on WordPress and the like. Just add a snippet of code to the
<head>section of your page. - HTML file: Download the file Google gives you and drop it in the root folder of your site via FTP.
- Google Analytics: If you already use the same Google account, verification is instant.
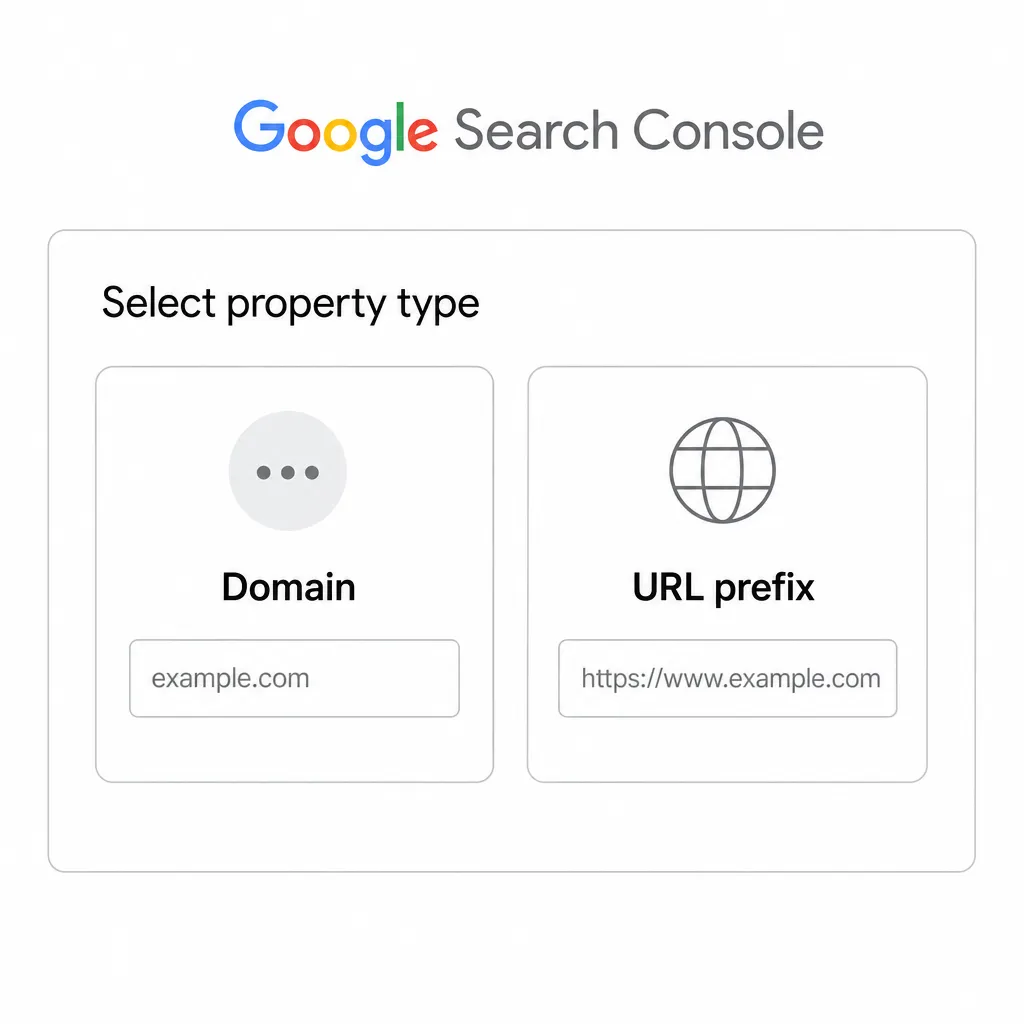
Our expert tip: Always go for "Domain" verification when you can. This one-off configuration covers every variant of your URL (with/without www, http/https) and gives you complete coverage of your website.
Submit your sitemap to speed up indexing
The XML sitemap lists every important URL on your site. Submitting it significantly speeds up the indexing of your content. It's basically the map you hand to Google so it doesn't miss a single page. Most CMS platforms (WordPress, Shopify and so on) generate this file automatically, but it pays to know how your own platform handles it, for example when you want to optimise SEO on PrestaShop.
- Go to the "Sitemaps" section of Search Console
- Enter the URL of your sitemap (usually
https://www.yoursite.com/sitemap.xml) and click "Submit" to validate it - Google will then process your sitemap and tell you which URLs it found
You don't need to resubmit your sitemap often. Do it mainly after a big content addition or a major site redesign, since Google rechecks it automatically at regular intervals.
If your site has a lot of content, a good practice is to split your sitemap into several themed files, such as sitemap-blog.xml, sitemap-products.xml or sitemap-images.xml. Then create a sitemap index that lists all of them. Remember to reference the location of your sitemap in your robots.txt file with the line Sitemap: https://www.yoursite.com/sitemap.xml. That makes it easier for crawlers to find it.
The "Page indexing" report: diagnosing your site's indexing status
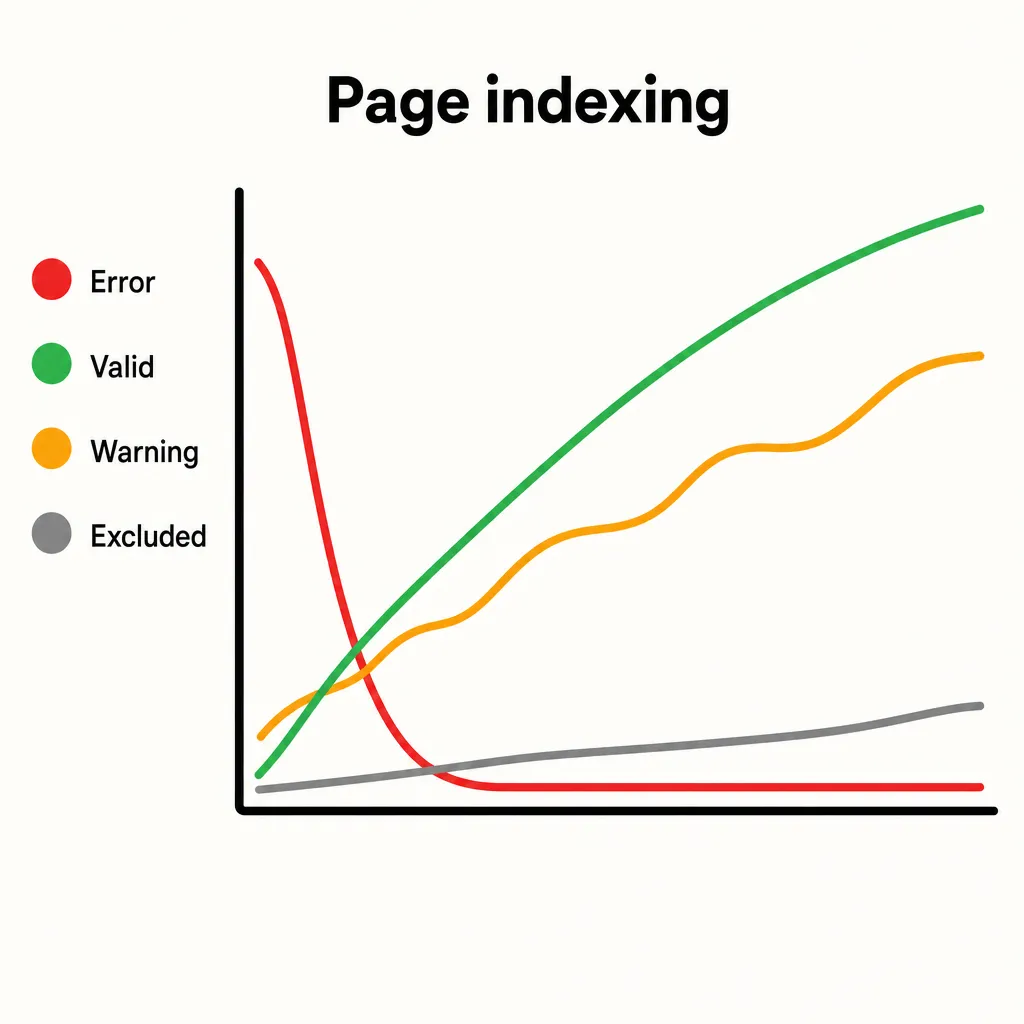
In Google Search Console, this report (the old "Coverage" report, renamed "Page indexing" in 2022) plays a central role in the technical monitoring of your site. It gives you a clear view of the indexing status of every URL Google knows about, which is essential to understand how your site is being crawled.
- Not indexed, because of an error: important pages Google couldn't index (server errors, 404s or a
robots.txtblock). They need fixing fast. - Improve page experience: a separate table of non-blocking warnings. These issues don't stop a page from being indexed, but they are worth fixing.
- Indexed: these pages are in Google's index and can appear in search results.
- Not indexed, by choice: pages left out on purpose (noindex, redirects, duplicates) or that Google chose not to index. This section is crucial for spotting the common causes of exclusion and improving your SEO.
How to analyse and fix "Excluded" pages
- "Page with redirect": Perfectly normal. It means your 301 redirects are working and Google is following the final URL.
- "Not found (404)": For these deleted pages, check whether they still get traffic. If they do, redirect them to equivalent content to preserve your SEO equity.
- "Excluded by 'noindex' tag": Make sure this tag isn't hitting important pages. It's useful for login or thank-you pages, but a problem if it accidentally blocks strategic ones.
- "Blocked by robots.txt": Check that your
robots.txtisn't blocking access to key resources (CSS, JS), which could hurt crawling and indexing of your site. - "Duplicate, Google chose different canonical than user": In that case, review your canonical tags and align all your signals (internal links, sitemap, redirects) to steer Google towards the right version.
The URL Inspection tool is your best friend for analysing any page on your site in detail. Just enter a URL to find out whether it's indexed, how Google interprets it and which technical problems it might be running into. This report generator, built into Google Search Console, also shows you the HTML as Googlebot sees it, flags any blocked resources and provides a screenshot of the rendered page in the live test, taken from the mobile version. Once you've fixed the errors it found, you can request manual indexing straight from the tool. It's especially useful during a migration, helping you understand why organic traffic might drop after a redesign, as explained in our guide on why organic traffic drops after a site redesign.
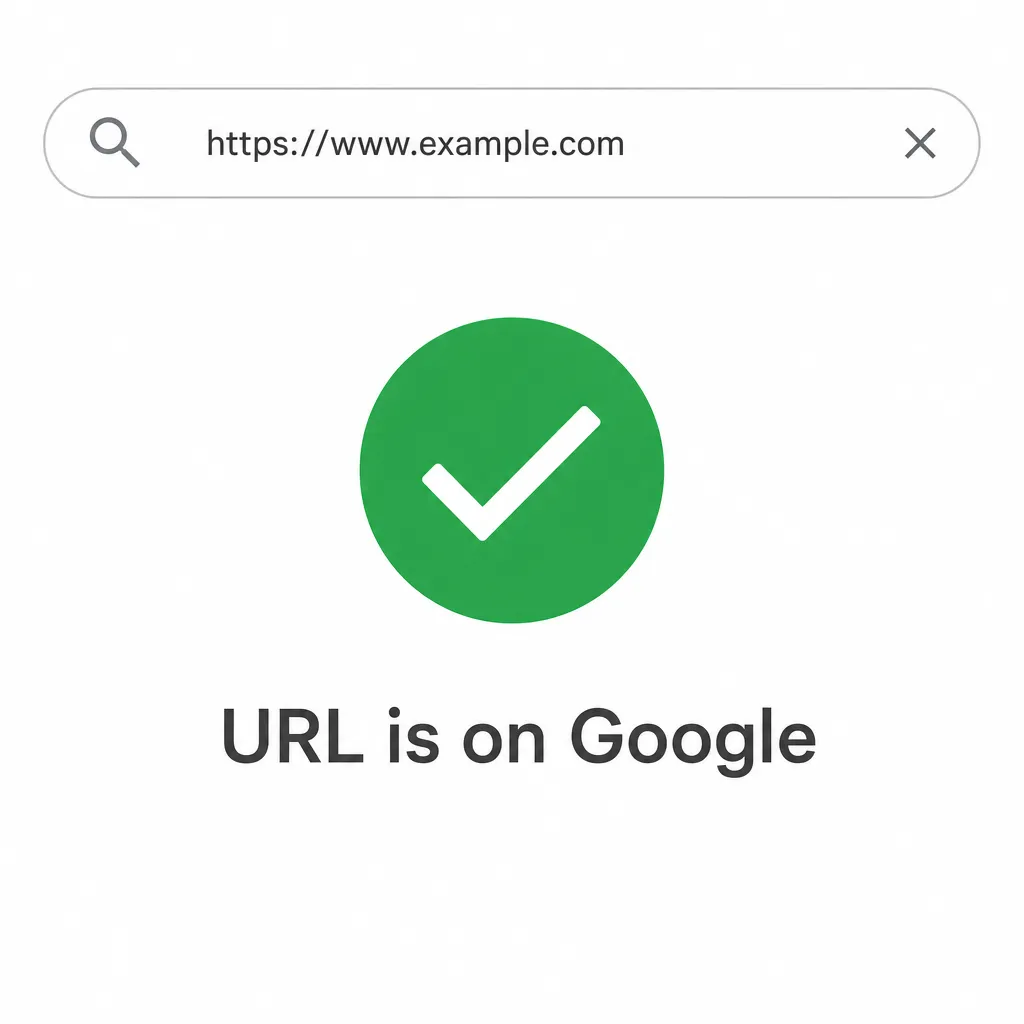
If a page isn't showing up in Google search results, the tool tells you exactly why: server error, noindex tag, a restriction in robots.txt, an incorrect canonical tag, and so on. You can then fix the problem and request indexing again. One caveat, though: even after a manual submission, Google doesn't guarantee immediate indexing. It can take anywhere from a few hours to several days, depending on how much weight the algorithm gives your domain.
Become an SEO detective with the "Performance" report
This report is essential for improving your SEO. It shows you precisely how people find you in search results, through four key metrics:
- Clicks: Total number of visits coming from search results.
- Impressions: How often your site appears in the SERPs.
- CTR (click-through rate): Percentage of impressions that turn into clicks (
Clicks ÷ Impressions). - Average position: Your pages' average ranking for each query.
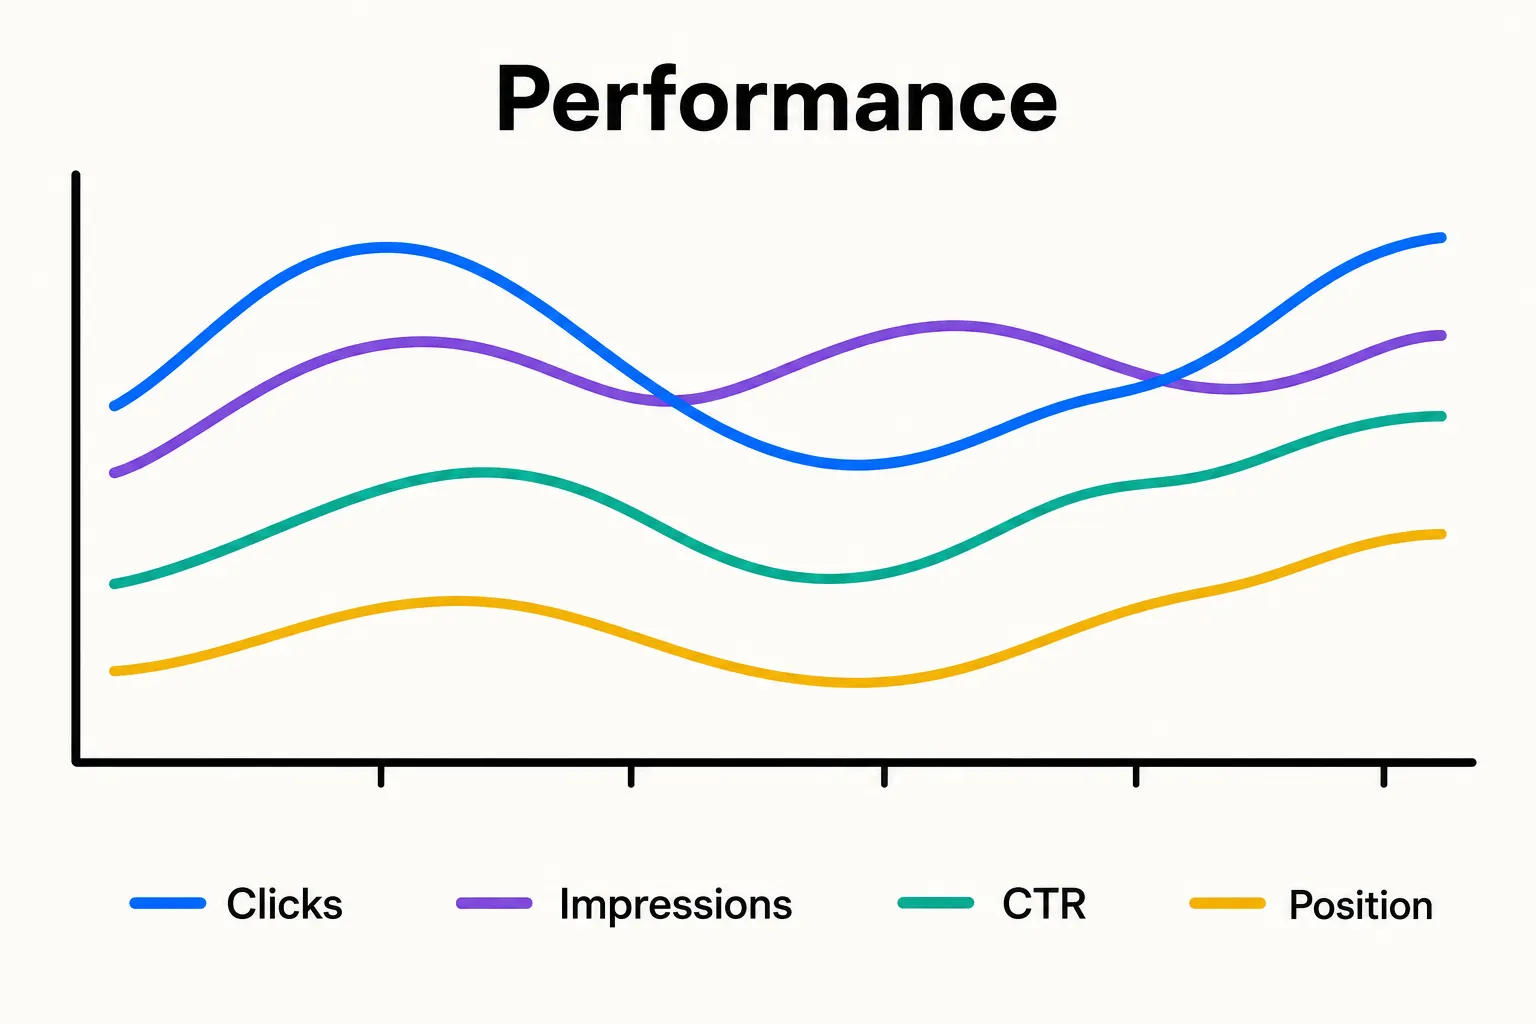
Here's an example of the valuable insights this report can give you:
| Query | Impressions | Clicks | CTR | Average position | Analysis & action |
| organic seo | 5,200 | 180 | 3.5% | 3.2 | Excellent performance, keep it up |
| running shoes | 780 | 8 | 1.0% | 12.4 | Big opportunity: the page gets plenty of impressions, but sitting on page 2 explains the low CTR. Some SEO work could push it into the top 10. |
| google search console guide | 500 | 41 | 8.2% | 2.8 | Outstanding click-through rate! The title tag and meta description are perfectly tuned to pull visitors in. |
Your main mission in this report
- Spot high-potential pages: Sort the data by impressions. When a page gets lots of views but few clicks, it's often a sign that its title or description lacks punch. Rework them with sharper wording (questions, numbers, key benefits) to lift the CTR.
- Target positions 11 to 20: Filter the report by position to find keywords sitting at the top of page two. Adding a few internal links, improving the content or tidying up your heading tags is often enough to boost your rankings and gain several places.
- Watch pages that are losing ground: Compare two separate periods to identify pages whose performance is declining. It can mean a competitor has published something more relevant. Analyse the SERP and beef up your page accordingly.
- Analyse data by device and country: Segment your results between mobile, desktop and tablet. A lower mobile CTR often points to user experience issues. Likewise, look at performance by country to adapt your SEO strategy to each market.
The Performance report is especially handy for identifying long-tail queries that bring in quality traffic. Less frequent, sure, but these targeted queries can deliver excellent conversion rates. To widen your keyword base, have a look at our complete guide to Google Autocomplete, which explains how to mine search suggestions for hidden SEO opportunities.
Analyse and strengthen your links
Links still play a fundamental role in SEO. With Search Console, you get a clear report on your backlinks (external links) and your internal linking.
- External links: First, check which sites are pointing to yours. That lets you spot any dubious practices and identify your best partners. Then look at each source domain, the linked pages and the anchor text to judge the quality of your link profile.
- Internal links: Find your most interlinked pages. It's a good way to check that your strategic content is getting pushed and to find orphan pages that lack internal links.
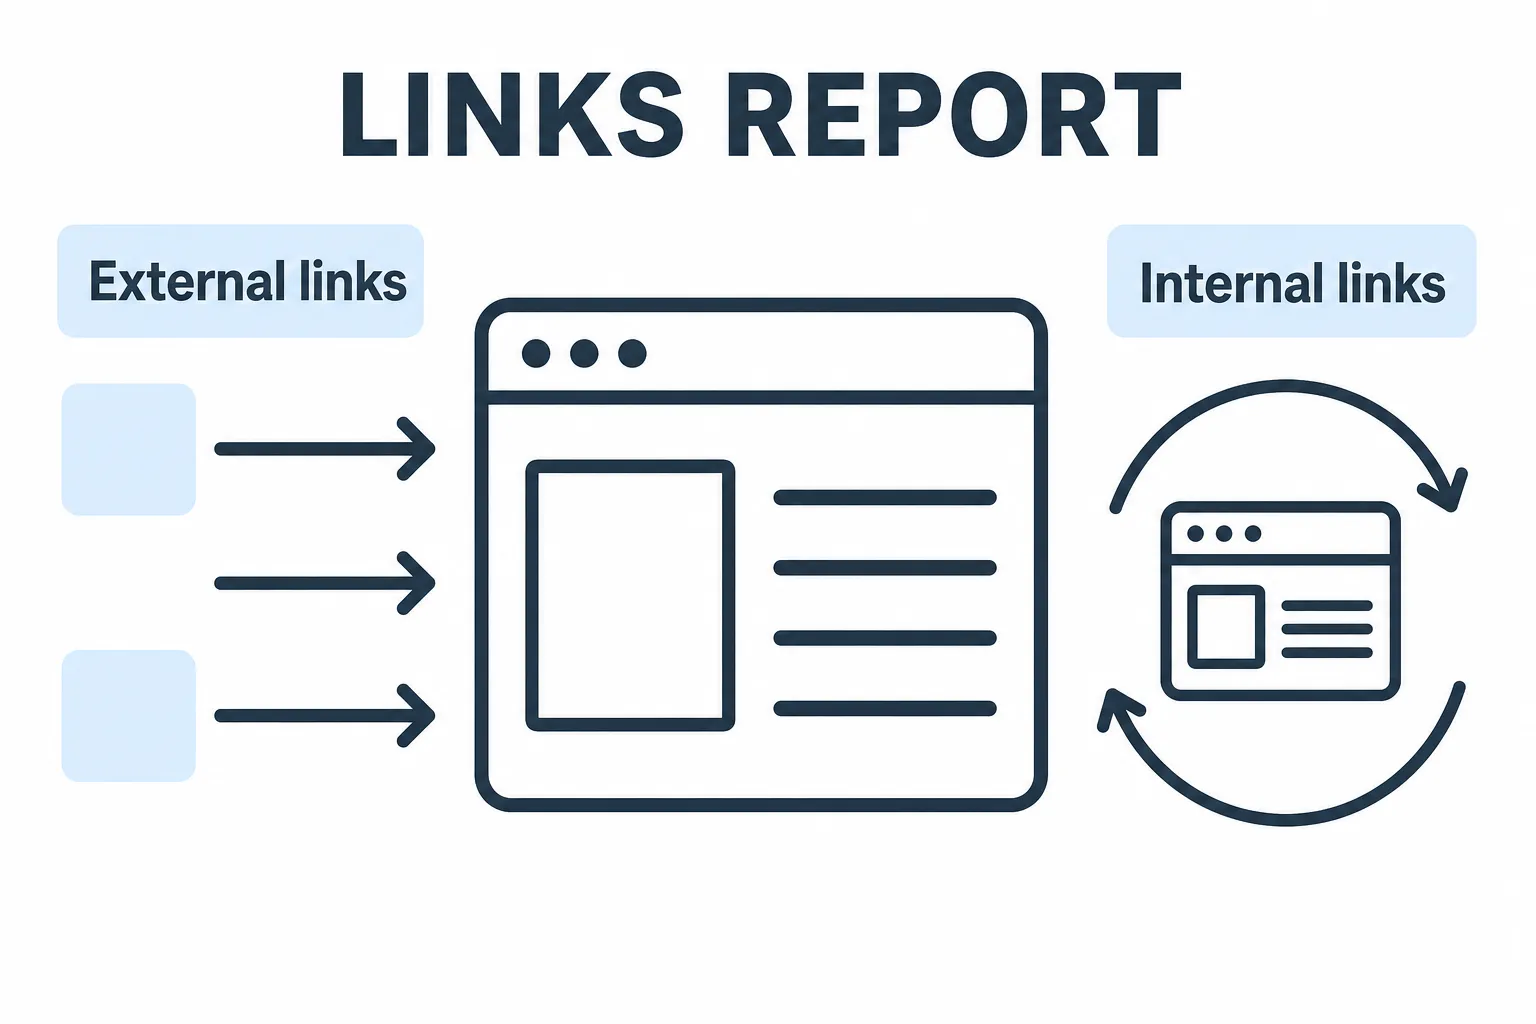
To improve your internal linking, focus on your best-performing pages and link from them to important but less visible content. Favour varied, descriptive anchors over generic ones ("read more") that do nothing for your rankings.
If you find toxic links (from spammy or off-topic sites), contact the site admins first and ask them to remove the links. Only as a last resort should you use the disavow tool in Google Search Console. It lets you submit a list of URLs or domains for Google to ignore. Be careful, though: misusing it can seriously damage your SEO.
⚠️ Important warning: The disavow tool must be handled with extreme care. Only use it in the case of a proven negative SEO attack. Google is generally very good at filtering out bad links on its own. A mistake in this file could hurt your rankings for a long time.
Core Web Vitals and page experience
The "Core Web Vitals" report (Google retired the separate "Page Experience" report in late 2023) is now a must in SEO. It analyses both the technical performance and the usability of your site, especially on mobile. Google uses this data to assess user experience and, in part, to influence rankings in Google search results.
Three key metrics are measured:
- LCP (Largest Contentful Paint): Loading time of the main visible element (image or text). Target: under 2.5 seconds.
- INP (Interaction to Next Paint): Replaced FID. Measures responsiveness to user actions (clicks, typing). Target: under 200 ms.
- CLS (Cumulative Layout Shift): Visual stability (avoiding unexpected jumps). Target: a score under 0.1.
If your pages are rated "Needs improvement" or "Poor", act quickly:
- Optimise your images (WebP format, lazy loading)
- Load critical elements first (CSS, fonts)
- Minify and defer non-essential JavaScript
- Set fixed dimensions for media and ads
- Use a CDN for static assets
To dig deeper, cross-reference Google Search Console data with PageSpeed Insights. That tool gives you tailored recommendations for each URL. If you use AMP, this complete guide has everything you need to understand how to manage your AMP pages in the report, track errors and measure the impact on Core Web Vitals.
Managing AMP pages in Google Search Console
If you use AMP pages (Accelerated Mobile Pages) to speed up load times on mobile, Google Search Console offers a dedicated report under Enhancements > AMP. This report shows you which AMP pages are valid, which have warnings and which contain errors.
Here are the most common AMP problems:
- Missing the mandatory
amp-boilerplatetag in the<head> <amp-img>tags without the requiredwidthandheightattributes- Using custom JavaScript (only official AMP components are allowed)
- Using HTML tags that don't comply with the AMP spec
Before publishing an AMP page, always check it with the AMP Validator (https://validator.ampproject.org/) or the dedicated Chrome extension. The smallest error can invalidate your page and show up in your GSC reports.
Don't forget the essential cross-referencing markup: add <link rel="amphtml" href=".../amp/"> on the canonical page and <link rel="canonical" href=".../"> on the AMP version. This avoids duplicate content and lets both versions get indexed properly.
Set up email alerts or use the Google Search Console API to be notified immediately of new AMP errors. Once fixed, use URL Inspection and request reindexing to speed things up on Google's side.
Submit a sitemap that includes your AMP URLs (or create a dedicated one) to make them easier to discover. Then check their status in the Page indexing report and fix any soft 404s, redirect chains or robots.txt restrictions.
Finally, to judge whether your AMP pages are pulling their weight, analyse their performance in GSC (impressions, clicks, Core Web Vitals) and compare them with your regular pages. For example, keep AMP if it drives more than 50% of your mobile traffic with excellent CWV; otherwise, focus on optimising your canonical version.
Robots.txt, crawl control and blocked resources
The robots.txt file is an essential tool for managing how search engines crawl your site. In Google Search Console, the robots.txt report (which replaced the old tester in late 2023) shows you the file Google fetched, any parsing errors, and whether a given URL or resource is properly blocked.
Google also used to let you temporarily limit crawl frequency (for up to 90 days) when your server was overloaded, but that crawl rate limiter was retired in early 2024. Googlebot now adjusts automatically based on your server's response. One thing to watch, though: never block the CSS and JavaScript files your pages need to display properly. Without them, Google can't interpret your content correctly, which hurts both user experience and your rankings.
Careful management of URL parameters (sorting, filters, pagination) helps you avoid duplicate content and steer crawling towards the pages that matter. For example, block parameters like ?sort= or ?page= via robots.txt when they generate duplicates. Complement this with canonical tags to signal the main version to index.
It's crucial to distinguish crawling from indexing: a crawled page isn't automatically indexed. Conversely, a page blocked by robots.txt can stay in the index if Google has already discovered it or if it has backlinks. To remove a page for good, use the noindex tag, then lift the robots.txt block so Google can actually see that instruction.
Rich results and structured data
In Google Search Console, the "Rich results" report flags problems with your structured data (products, recipes, articles, reviews and so on). This markup lets Google display enhanced information in its results (ratings, prices, availability...).
The most common errors are:
- Missing required fields (like price or image)
- Incorrect formats (badly formatted dates, invalid URLs)
- Incomplete or poorly implemented markup
Always check your markup with the Rich Results Test (https://search.google.com/test/rich-results) before pushing it live. The test confirms your data is valid and eligible for an enhanced display.
Well-implemented structured data can significantly increase your CTR and improve your visibility in search results. Check the report regularly to catch any anomaly early.
Manual actions, security and alerts
In Google Search Console, the "Manual actions" report warns you when Google applies a penalty to your domain. These sanctions usually follow suspicious practices such as unnatural links, spam or misleading content. Once penalised, your visibility in search results can drop dramatically.
The "Security issues" report identifies critical vulnerabilities such as malware or hacking attempts. If your site is infected, Google may show warnings to visitors or even temporarily remove your pages from its index.
Once you've fixed the problems (cleaning up toxic links, removing spam content, securing the site), submit a reconsideration request directly from GSC. Be specific when describing the fixes you made and keep an eye on the feedback in the interface. Note that processing time varies from a few days to several weeks depending on how complex the case is.
Check your dashboard in the Search Console settings regularly. Google does send email notifications for major alerts, but a manual weekly check is the best way to catch potential problems before they hit your performance.
URL removal tools and change of address
The temporary removal tool in GSC lets you hide a URL from search results for about six months. It's ideal for quickly containing sensitive information leaks or accidental publications. For a permanent removal, combine several methods: add a noindex tag, put the page behind authentication or physically delete the content.
If you're migrating your domain, use the dedicated tool in the property settings. This operation must go hand in hand with 301 redirects and the submission of a new sitemap for both old and new URLs. Google then gradually updates its index.
After the migration, go through the Page indexing report in GSC carefully to catch any URLs that didn't make it across. Also remember to update your strategic links (backlinks and internal links) to preserve your authority and organic traffic.
User management and external integrations
Search Console offers three access levels for managing your domain:
- Owner: has every right (managing users, changing settings, disavowing links).
- Full: can view all data and perform certain actions like adding a sitemap or requesting indexing, but can't manage users.
- Restricted: can only view reports, with no ability to take action.
You can give an agency or freelancer access without sharing your personal Google credentials.
Turn on email notifications to be alerted in real time about security issues, manual actions or indexing errors.
For a fuller analysis, link your Google Analytics (GA4) account to your Search Console property. This integration combines visibility data (GSC) with behaviour data (Analytics), giving you an end-to-end view of the user journey, from search to conversion. Verification via Google Tag Manager is possible without touching any code, as long as the GTM container is already installed on your site.

Rank Higher Without the Manual Work
From technical audits with Nox to competitor monitoring with Marc, Sedestral's AI agents cover every layer of SEO so your team doesn't have to.